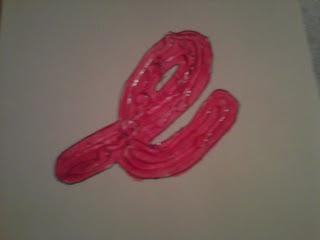
Our finished product.
First I traced out our template.We used manilla folders cut into 8ths (4 from each side of the folder). I did not feel like buying cardstock.
I got my outline for cursive letters from here. Find Cursive letter template I figured I would try cursive with her first as more and more I see children have an easier time with cursive than print. I did not bother printing these templates. I placed the manilla folder DIRECTLY on my laptop with the screen laying flat so I could trace it.
Then we colored everything in. Blue for the consonants and red for the vowels. It matches the set of movable letters I have downloaded for when she is ready. (We have noncolor coded letters for her older brother to practice his reading/writing)
Then I took my hot glue gun and filled in all the letters. They are stringy and blobby which gives it a weird texture. You have to go over them slowly which makes more emphasis on the letter.
And that's it! Simple as that! The other kids got to help me do all of the coloring and ironically our 9 year old, Beanie colored better than my 14 year old, Kota. Go figure.
Plus a picture of Nanners and Beanie working together on our snaps electric board. We got it for free at the homeschool conference in Chicago and it gets used often. Nanners loves watching the older kids make fans and making things go flying!


No comments:
Post a Comment